
Introduction
In today’s digital age, online privacy and security are more important than ever. Setting up a home VPN server is an excellent way to protect your data, secure your internet connection, and access your home network remotely. This guide will walk you through the steps to set up a home VPN server and help you understand its benefits.
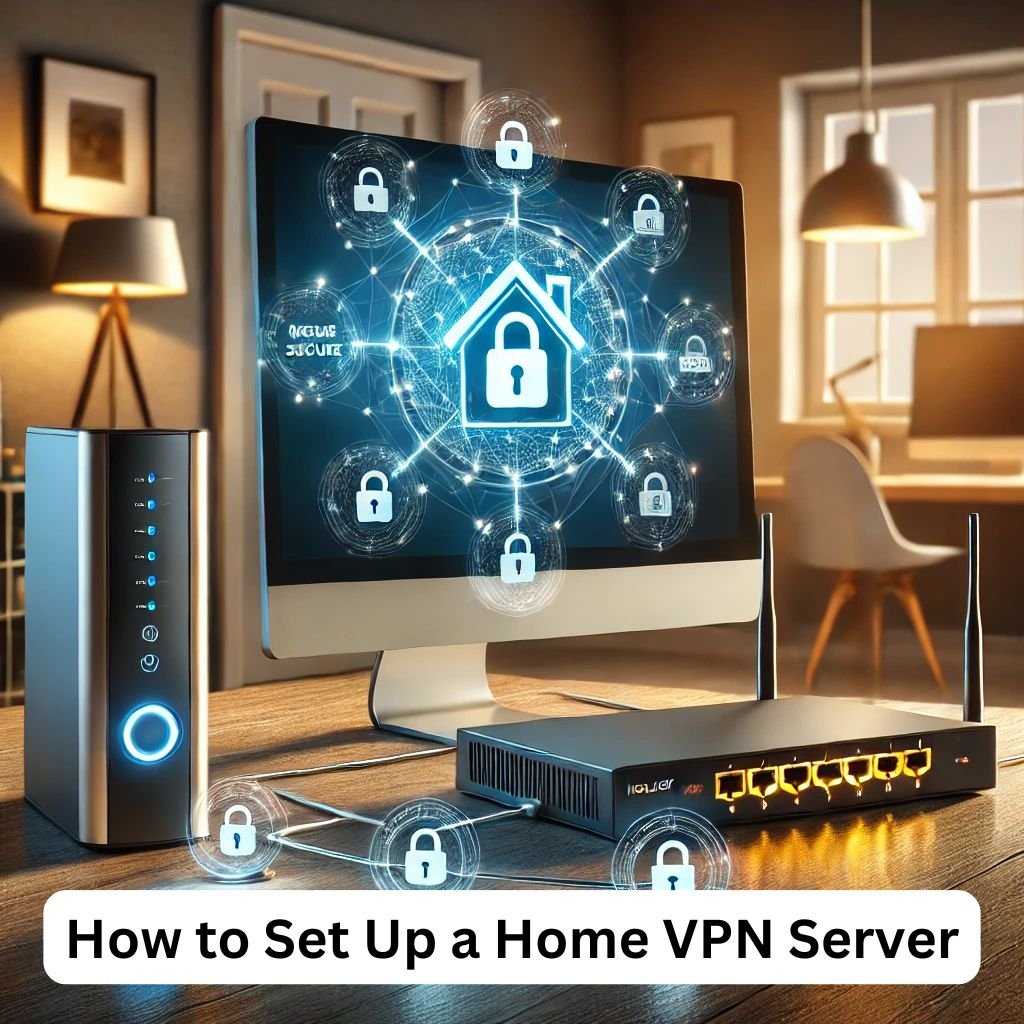
What is a Home VPN Server?
A home VPN server allows you to create a secure, encrypted connection between your devices and your home network. Unlike commercial VPN services, a self-hosted VPN gives you full control over your data and privacy.
Benefits of a Home VPN Server
- Enhanced Security: Encrypts internet traffic, protecting sensitive data.
- Remote Access: Access your home files and devices from anywhere.
- Bypass Geo-restrictions: Securely access content available in your home country.
- Cost-Effective: No monthly fees for third-party VPN services.
Requirements for Setting Up a Home VPN Server
Before starting, ensure you have the following:
- A computer or router that can act as a VPN server
- A stable internet connection
- Basic networking knowledge
- A dynamic DNS service (optional but recommended)
Step-by-Step Guide to Set Up a Home VPN Server
Step 1: Choose Your VPN Protocol
Select a VPN protocol that suits your needs:
- OpenVPN (Recommended for security and flexibility)
- WireGuard (Fast and lightweight)
- PPTP (Outdated and less secure)
Step 2: Configure Your Router
- Log into your router’s admin panel.
- Enable VPN passthrough (if available).
- Set up port forwarding for the VPN protocol you’re using (e.g., port 1194 for OpenVPN).
Step 3: Install VPN Software
For Windows/Linux:
- Install OpenVPN or WireGuard.
- Configure server settings with encryption and authentication keys.
For Routers:
- Install custom firmware like DD-WRT or OpenWRT if the router doesn’t support VPN.
Step 4: Set Up Dynamic DNS (Optional)
Use a dynamic DNS service to assign a domain name to your home IP address, making it easier to connect remotely.
Step 5: Configure Firewall Settings
- Allow VPN traffic through your firewall.
- Block unnecessary ports for security.
Step 6: Connect Devices to Your VPN Server
- Install a VPN client on your devices.
- Import the server configuration file.
- Connect to your home VPN server securely.
Best Practices for Home VPN Security
- Use strong encryption protocols (AES-256).
- Regularly update VPN software and firmware.
- Implement strong passwords for VPN access.
- Monitor network activity for unusual behavior.
Conclusion
Setting up a home VPN server is a proactive step toward securing your online privacy and gaining remote access to your home network. With proper setup and maintenance, your home VPN server can provide a safe and reliable internet experience.
FAQs
1. Is it safe to run a home VPN server?
Yes, as long as it’s configured with strong security protocols and regularly updated.
2. Can I use my router as a VPN server?
Yes, many routers support VPN functions, or you can install custom firmware.
3. What is the best protocol for a home VPN server?
OpenVPN and WireGuard are recommended for their security and performance.
4. Do I need a static IP address for my VPN server?
No, but using a dynamic DNS service can make connecting easier.
5. Can I access streaming services through my home VPN?
Yes, you can bypass geo-restrictions and access content from your home country.